
So you’ve just installed WordPress and installed your plugins, What Now?
In our last Getting Started Post we covered Installing your Plugins after signing up for your account and installing WordPress.
Your next step is to change all of your basic settings in order to get off on the right foot with your new blog.
Below I’ll go through how I initially set up each of my WordPress installations. We’ll be reviewing the pertinent menu items to the left in the WordPress Sidebar.
The Settings Menu
When you hover over the word Settings in the sidebar you will see the Settings submenu items. These are:
General Settings
These are the most basic settings and some may be pre-filled by your WordPress installation process.
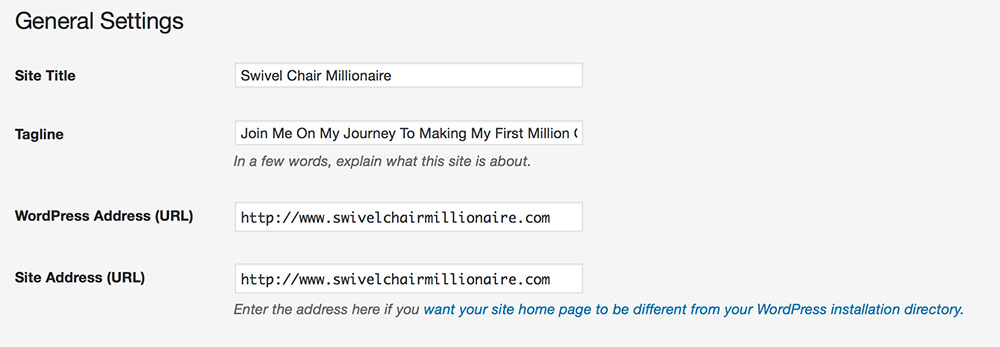
- Enter the name of your blog in the Site Title field.
- Enter your site’s slogan or catchy phrase in the Tagline Field.
- WordPress and Site Addresses should be refilled, but should normally be the web address that people will use to reach your site for example http://www.swivelchairmillionaire.com. Don’t change these to something else, as your site could stop working!
- Enter your contact email in the Email Address field.
- Membership – if you want your readers to be able to create accounts and log into your site check this box. I never do!
- New User Default Role – ensure it is set to Subscriber!
- Then select your timezone, date/time formats, what day you like the week to start on and language
Then click Save Changes.
Writing Settings
Here are settings which have to do with creating posts.

Only a couple of things to set here.
The three Default drop-downs, Post Category, Post Format, and Link Category can be set to automatically start a new with a specific category and format. Set these to what you use most often. I don’t usually set the link category. Note you may have to return to this later after you establish some post categories.
The rest of the settings can be disregarded by most people. The Post Via email is if you would like to be able to email your blog and have the content of the email immediately posted to your site as a blog post.
Save after making your choices.
Reading Settings
Settings for how your readers will view your site.
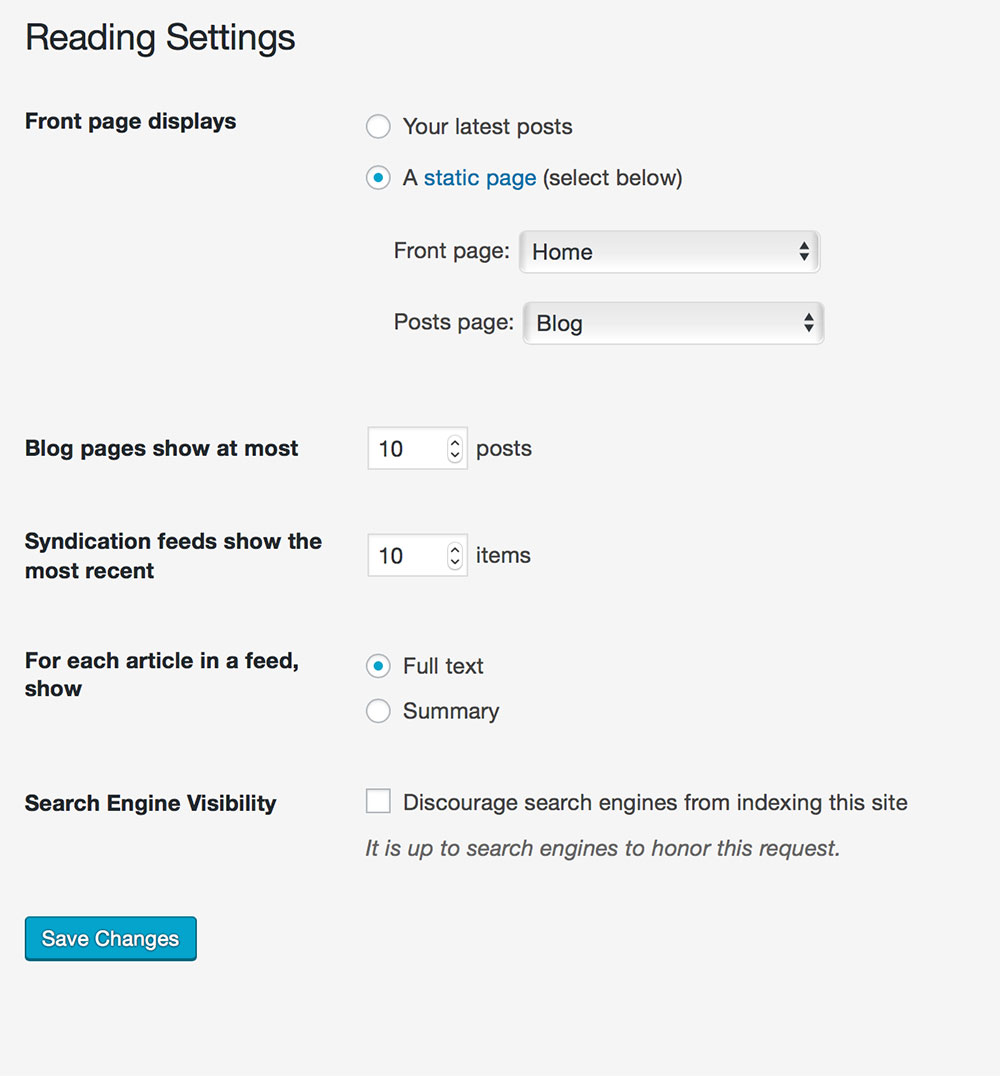
Front page displays – When people come to your home page if you want them to see all of your posts in chronological order, click on Your Latest Posts. Or you can select any page that you’ve created such as one to introduce your readers to your site as a whole. Click A Static Page and select any previously created page by name form the drop-down. When you do this you will need a page to be a home for your blog posts. Simply create a blank page and name it Blog, then select it from the drop-down.
The next 3 settings: Blog pages show at most & Syndication feeds show the most recent allow you to set the number of posts that will show on your blog and RSS feed before a page break. You can also select whether the full post or just an excerpt will be displayed.
The last setting here will allow you to discourage search engines from indexing your site. While not 100% effective, this is useful while you are still setting up things and preparing for your readers.
Remember to Save.
Discussion Settings
Default article settings – I check all 3 of these. The first 2 go hand in hand, when you link to another blog they will receive a “track back,” a mini blog comment to advise them you have linked to their post, the second allows you to receive track backs form other blogs. The third allows your posts to accept comments by default.
Other comment settings – These settings control how your readers are allowed to comment and how your blog displays the comments.
Email me whenever – Here you set if and why you want to be notified about comments. I check both Email me whenever Anyone posts a comment & comment is held for moderation.
Before a comment appears – These settings control when comments left on your site will be seen by others. If you want comments to immediately go live, leave both Comment must be manually approved & Comment author must have a previously approved comment unchecked. I always moderate comments, to prevent spam.
Comment Moderation – Spammers tend to fill comments with links . Another way to prevent them from using your comments section for back-links is to limit the number of links that can be posted in a comment. I suggest allowing 2 links. You may specify key words that will cause a comment to be held for moderation, you can place typical spam words here like ones related to male performance.
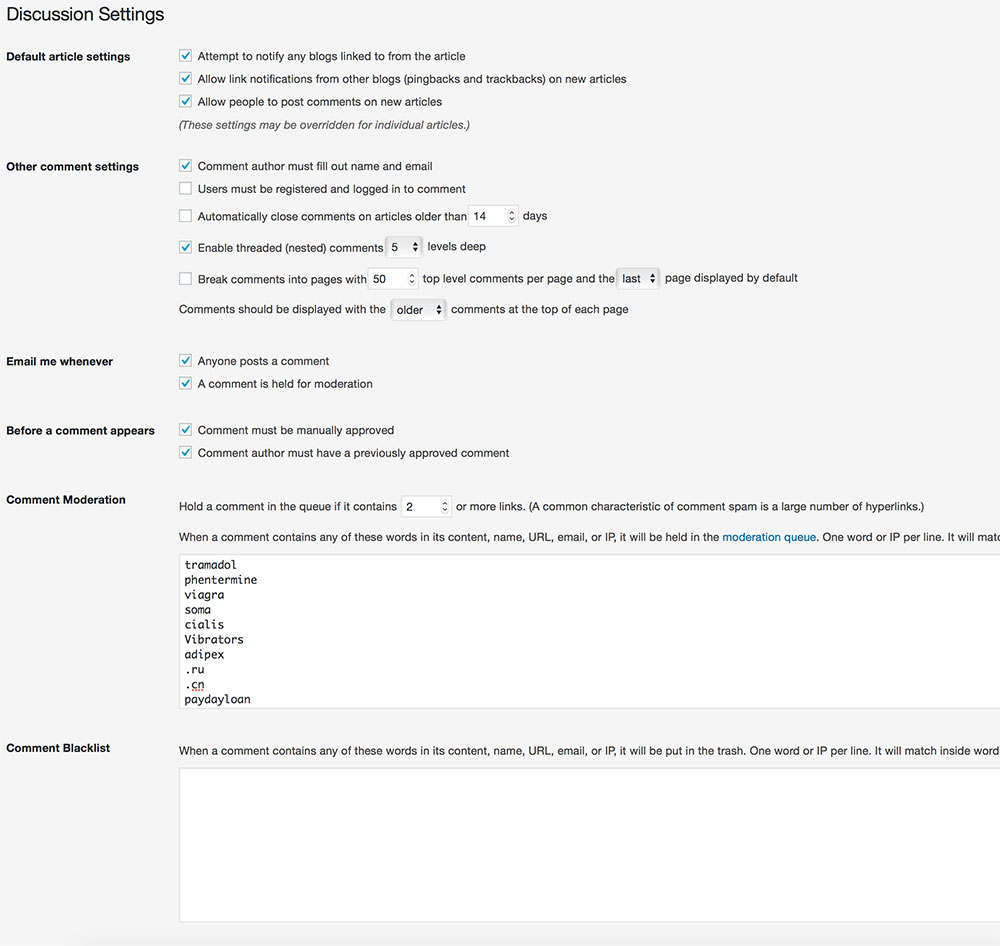
Comment Blacklist – You may also specify key words that will cause a comment to be sent directly to the trash
Avatars – Allows you to decide if you want Avatars to display for your commenters and how they will display.
Again Click Save before moving on. I think you get the drift, so I won’t mention saving again…
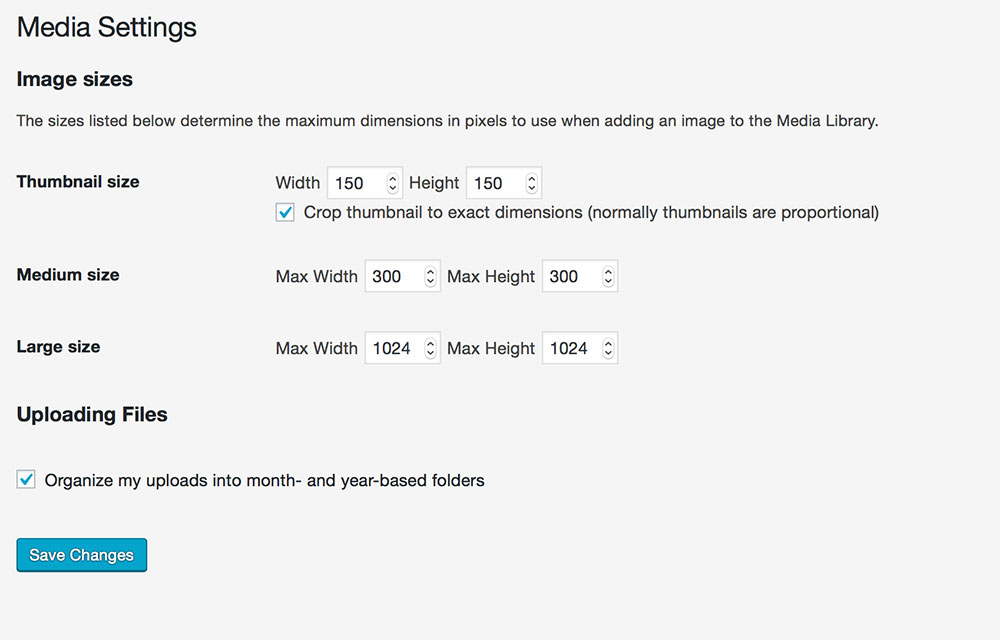
Media Settings
I usually leave these settings alone. But you can set the default size of your thumbnail, medium, and large images. You can select these default sizes easily when adding pics to your posts. You can always use a custom size and set it manually when posting if your presets do not work for that particular image.
Permalink Settings
ON this page you will set how your URLs look. These are the web addresses of each post.
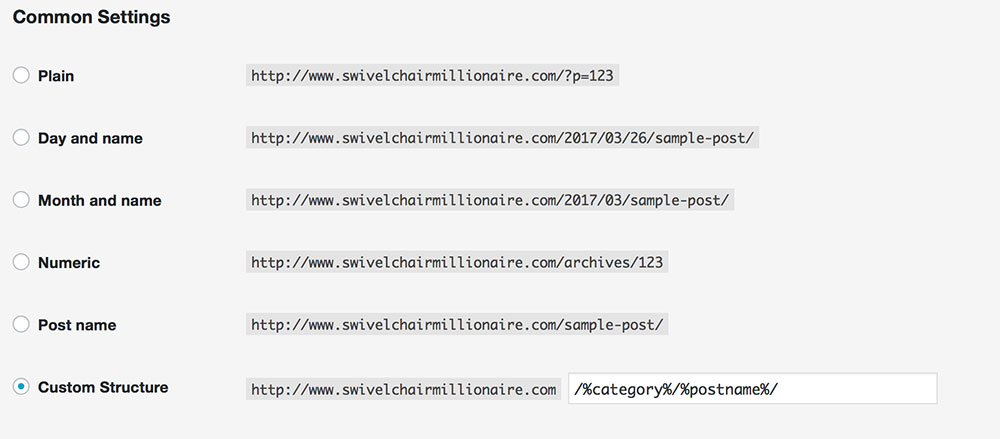
You can see there are several presets the you can pick from, or create your own custom one. I recommend the latter.
Click Custom Structure and then put /%category%/%postname%/ in the box. by doing this all of your posts will display your site name, the post category, and post title in the web address bar. This is much better for Search Engine Optimization (helping Google to find your post) that a post number or date in the address.